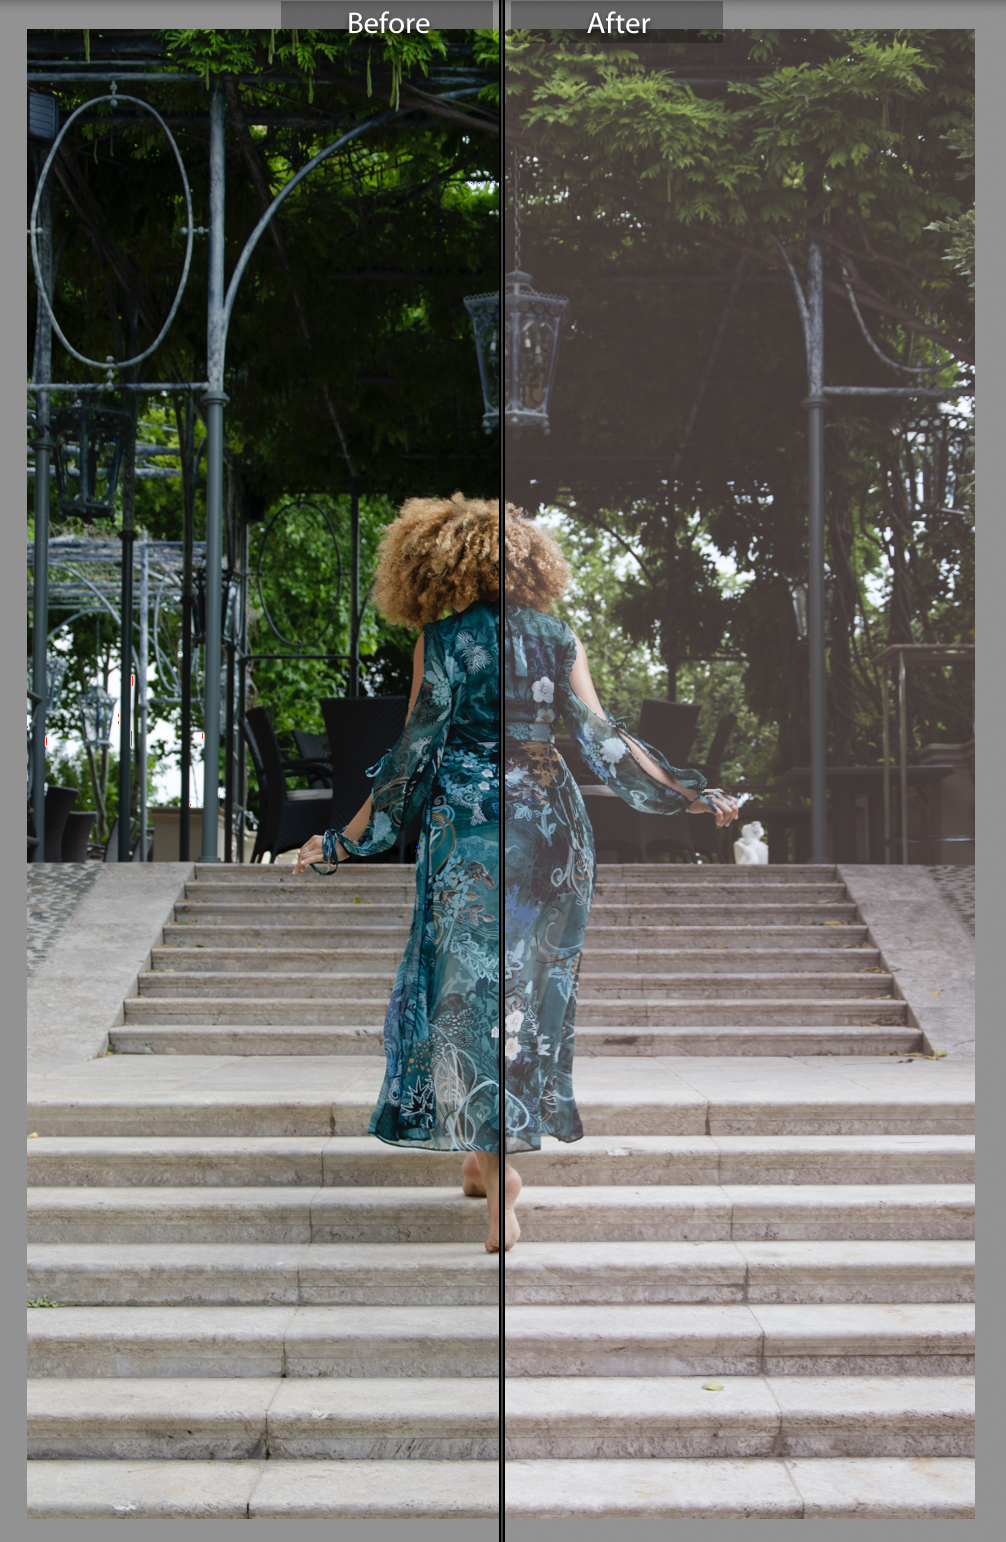
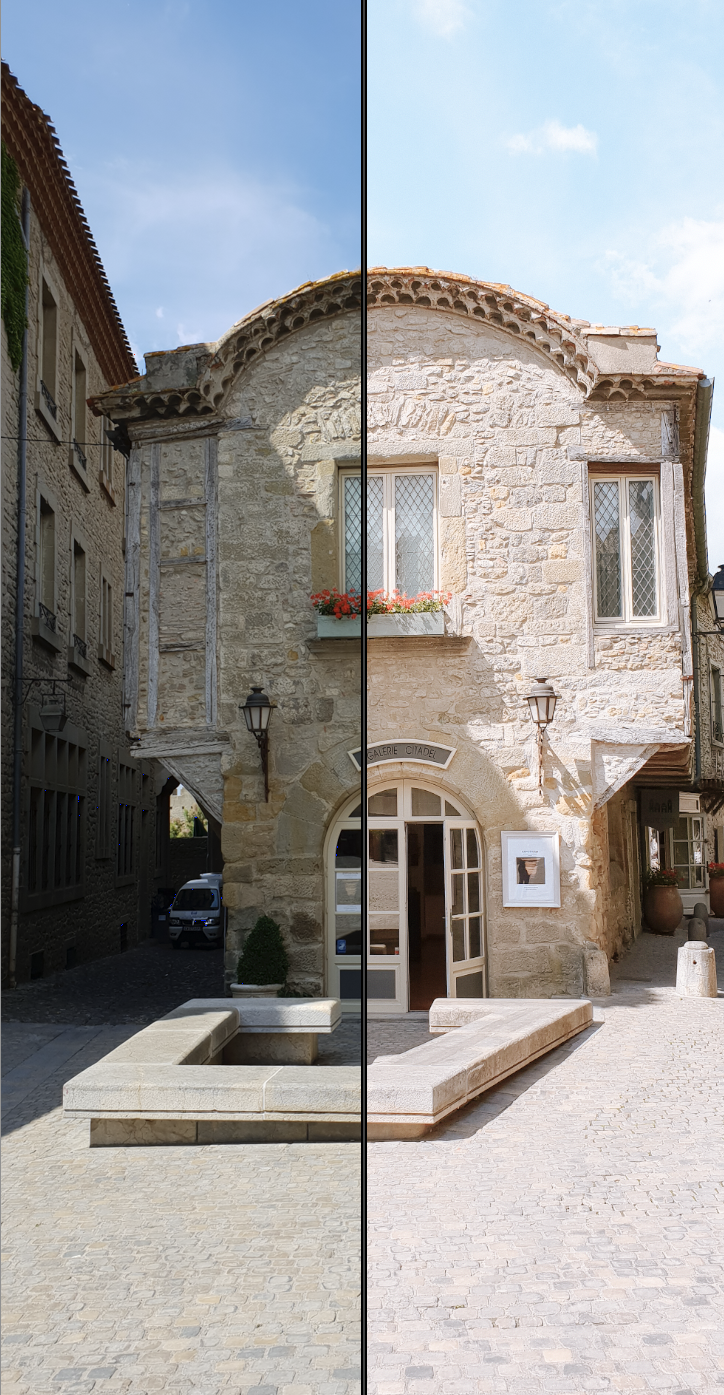
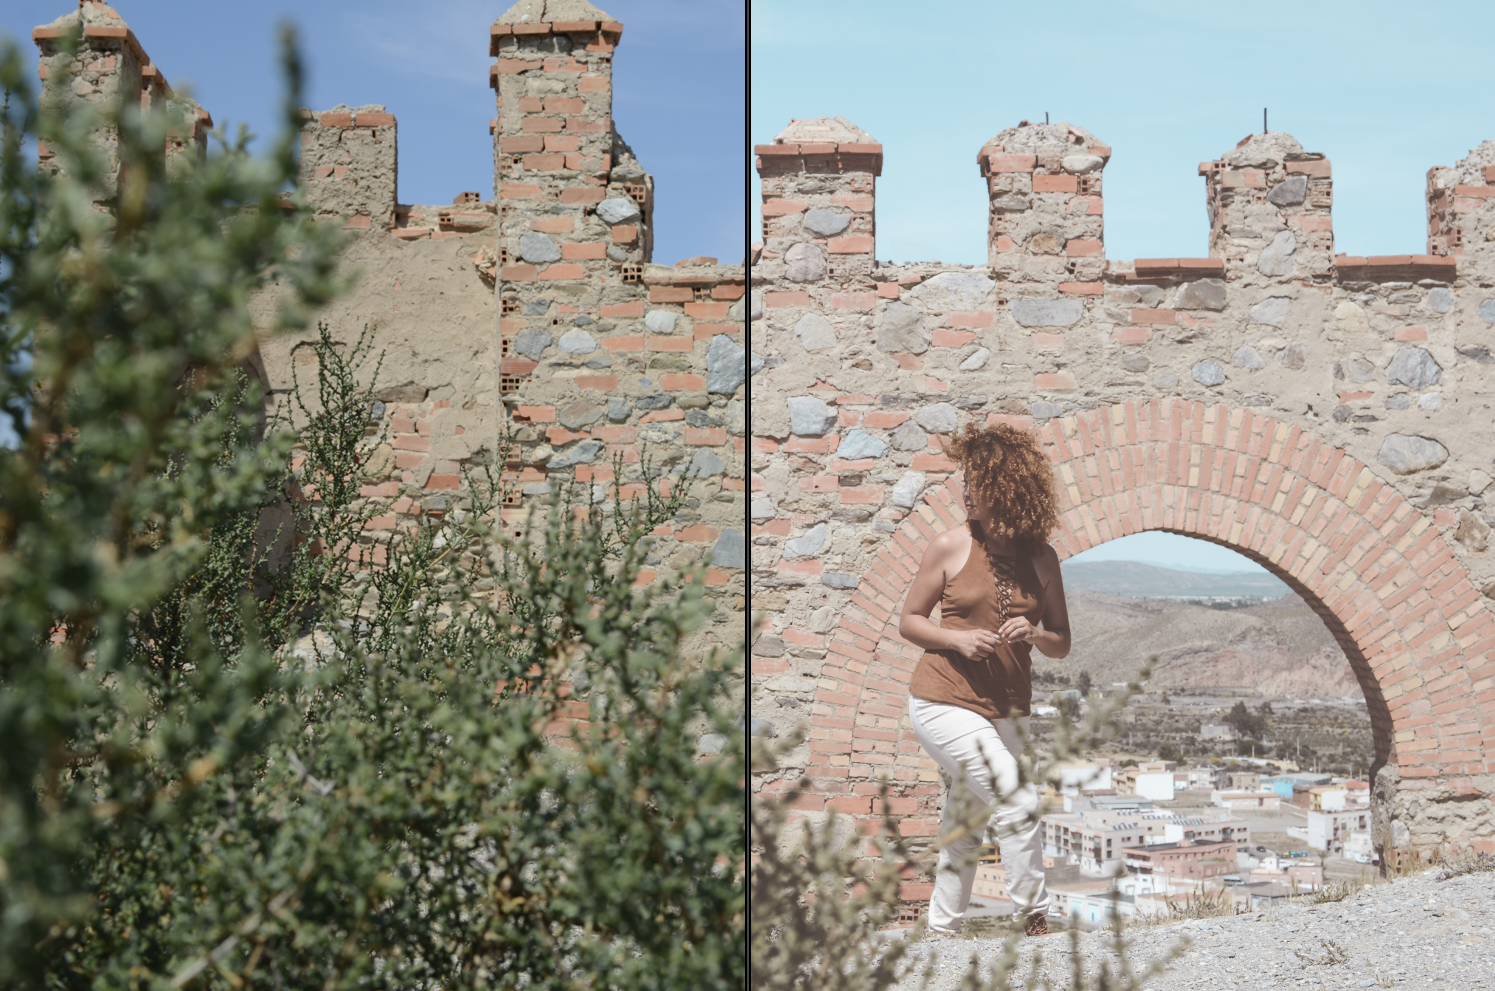
What are presets?
Lightroom presets are 'filters' or 'theme template' that professional photographers all around the world use to process their images quickly, so they don't spend so much time and effort editing each individual image to match their style and mood.
Adobe Lightroom is currently one of the most powerful and easiest photo editing softwares in the market, so it is time you start getting to know it if you're serious about photography.
what do i need to use these presets?
For the desktop presets you will need a computer like a desktop or laptop that has Adobe Lightroom installed. For the mobile version all you need is a smartphone or tablet with Lightroom installed. The mobile Lightroom app is free but has less features.
ARE MY PHOTOS GOING TO LOOK JUST LIKE YOURS?
Not necessarily. There are many things that go behind each image like lighting, white balance and equipment. Even with my own photos from other shoots it is hard to replicate an image at its entirety. And even though you can apply the preset with one click, most of the times you need to adjust some settings like brightness, contrast or saturation to get the right mood.
DO I NEED FANCY EQUIPMENT TO END UP WITH HIGH QUALITY IMAGES?
You do not need a fancy camera to take high quality images, but it is recommended you shoot with the best camera you have on hand. So if you have a DSLR (Digital Single-Lens Reflex camera) wasting space, it's time to use it! Most smartphones nowadays have very high quality cameras integrated in them so they are good enough if you're starting out or are in a hurry - provided you shoot in good conditions.
To assure optimal quality, pay attention to your lighting, composition, distracting objects in the frame, and shoot from different angles to get a nice range of shots to choose from.
Play with the settings of your camera, get out of the Auto setting and shoot in Manual or Pro mode. Your images will instantly feel richer and better. In newer models you can even add some depth-of-field to get a nice blurry background while your subject is in focus!
What will influence the final outcome of the preset?
There are many things that affects the look of a photo, such as:
Location - the water in the Caribbean is a different blue than the water in the Mediterranean, and the green on the leaves of a forest in Germany can look different than the Amazon jungle, for example.
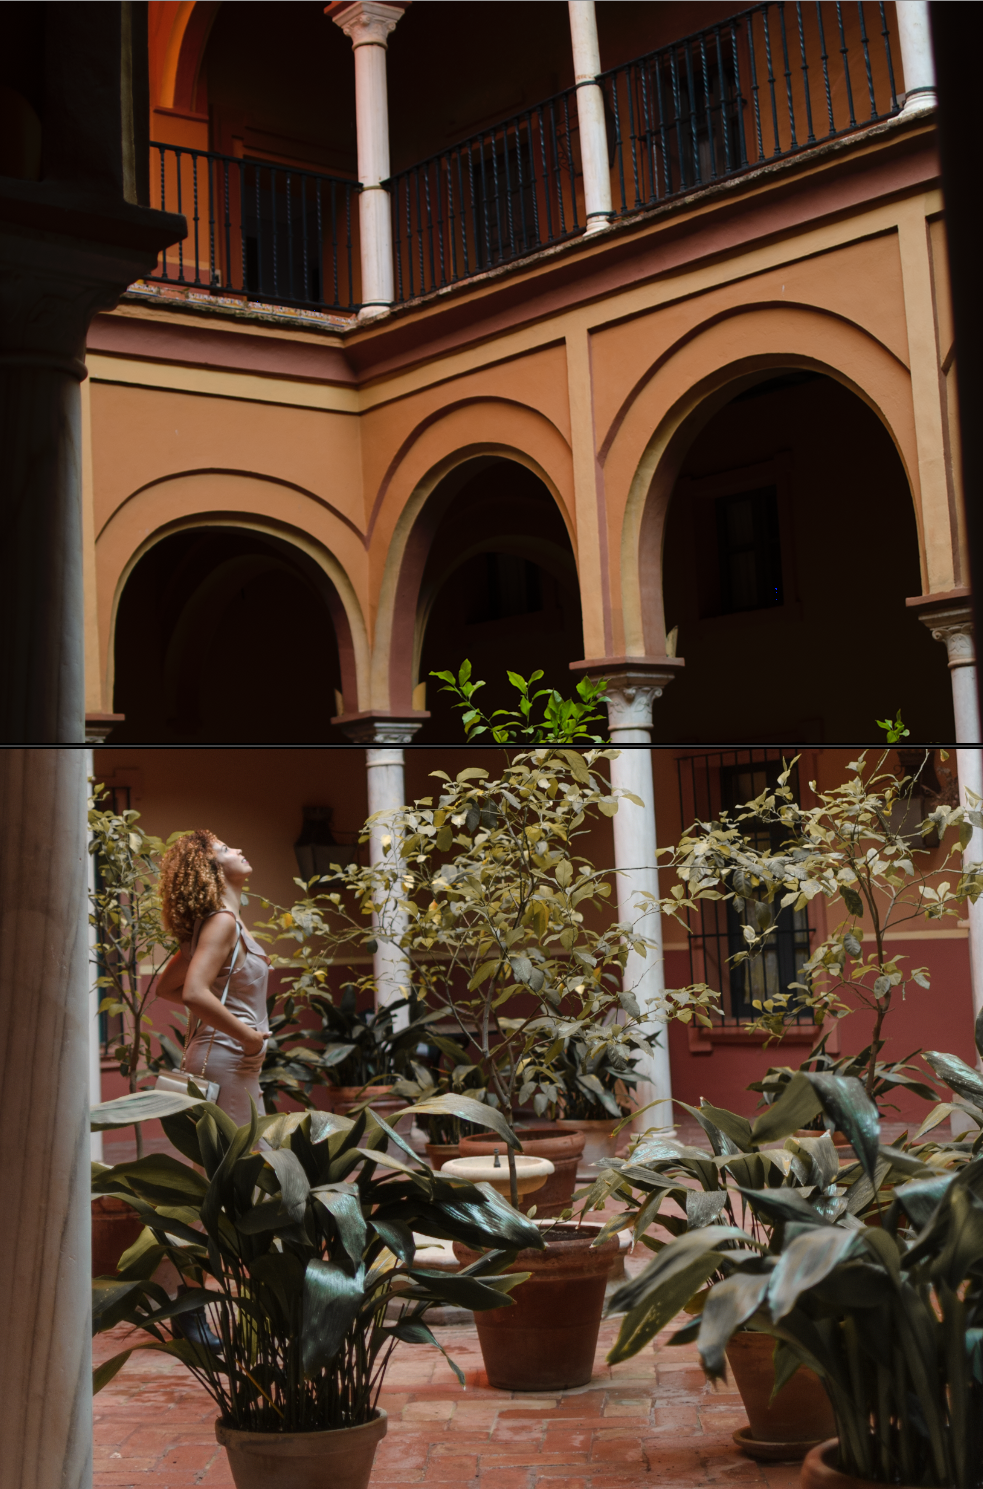
Lighting - indoor/outdoor, time of the day, time of the year, angle of the sun, clouds/no clouds
Camera - Canon, Sony and Nikon all give their photos slightly different colors. On top of that, photos from a camera may slightly differ from another camera from the same brand, even if it's just an updated model!
Lens - Sigma Art lenses vs Canon, Nikon, etc.
Camera Settings - how you set your ISO, whether you shoot your photo under or overexposed, whether you shoot in RAW or JPEG, size, etc.
Skin Tones - everyone has a different skin tone and undertone so you you can play with this to get a tan or make your skin glow a bit
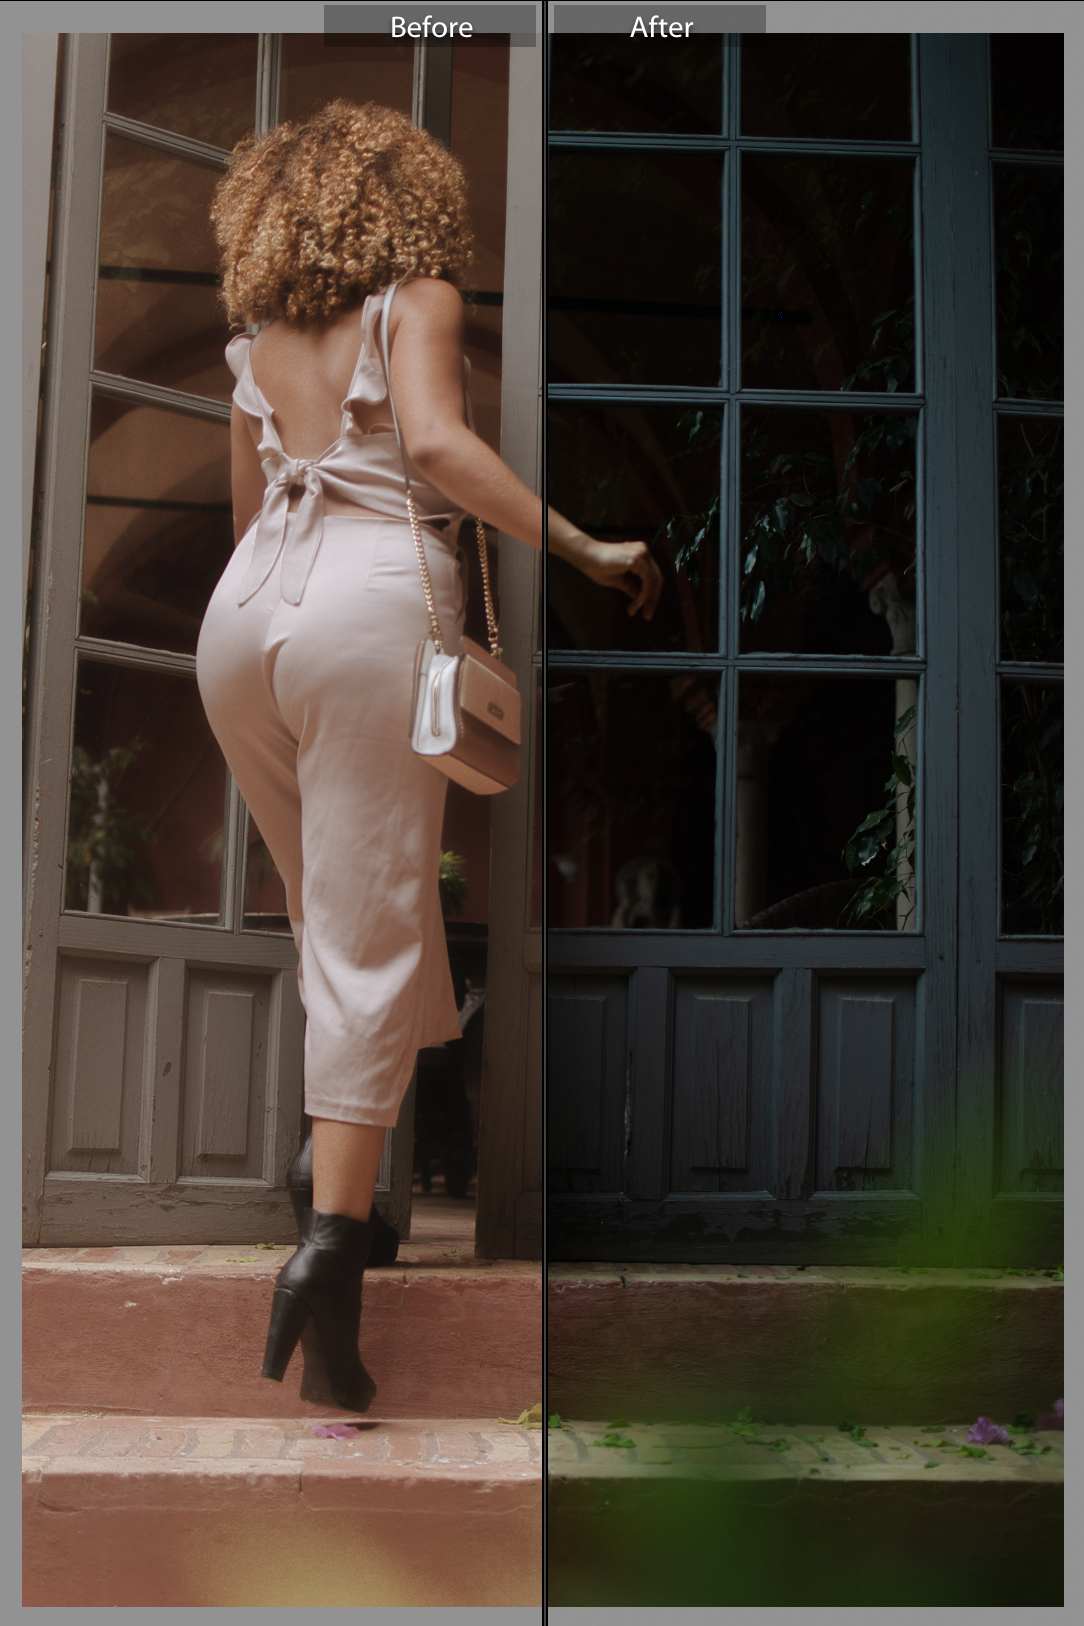
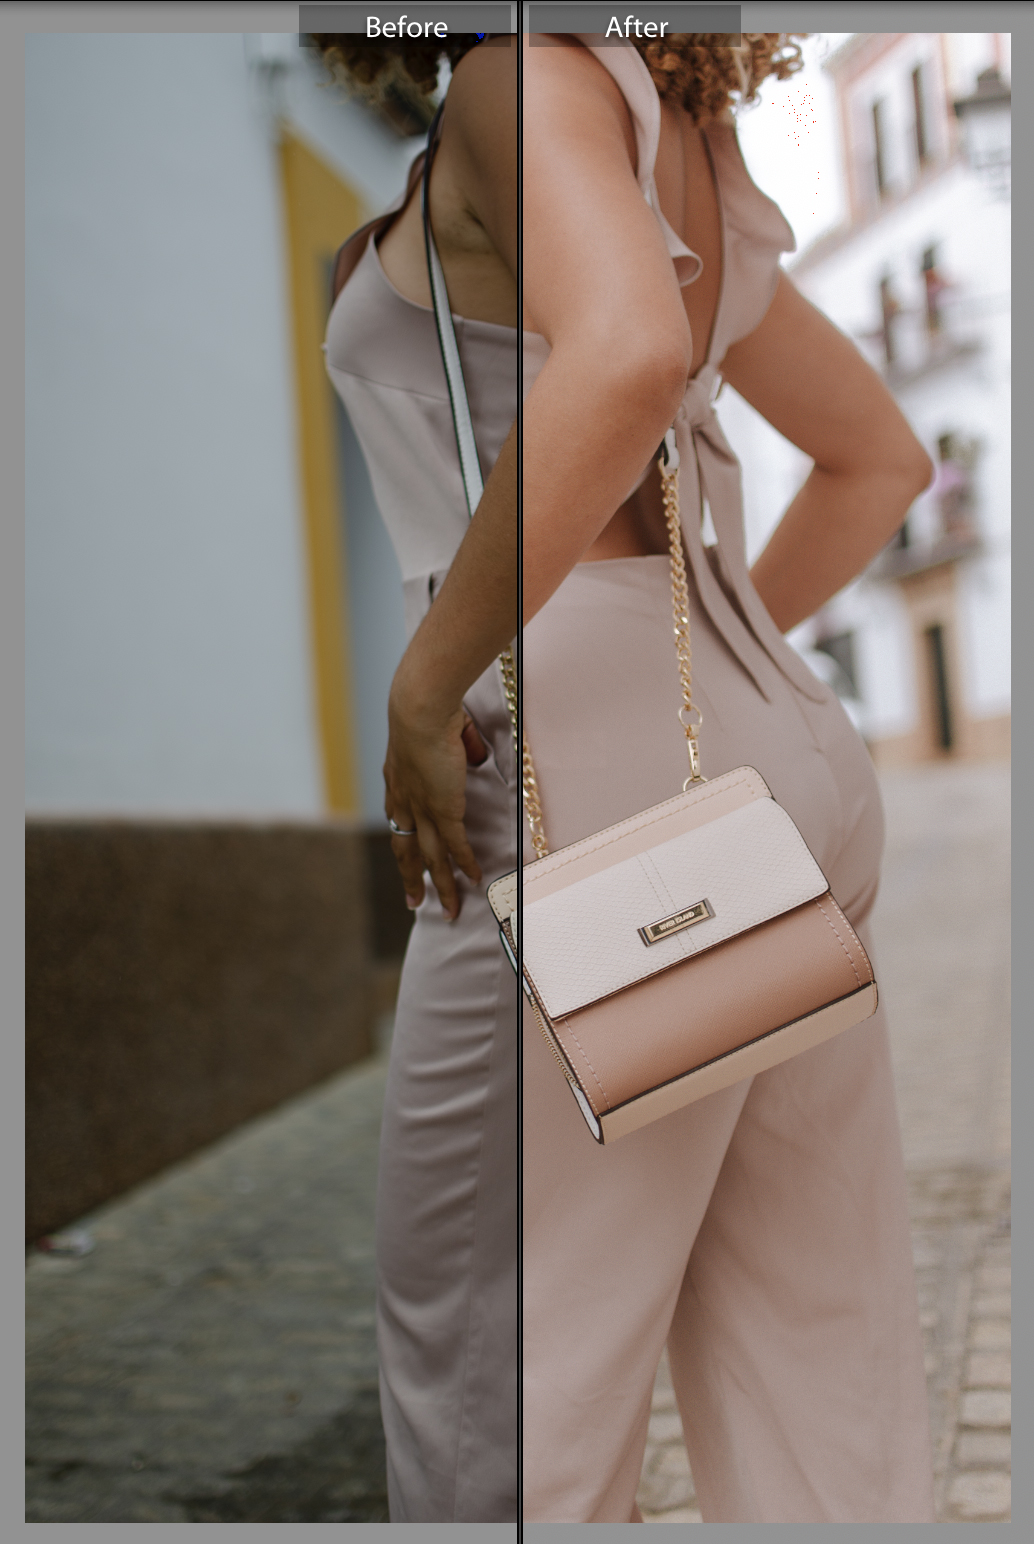
There are so many variables that even if you went back to the same location, used the same camera and then applied the same preset, the chances are the lighting and time of the day will be different and hence you will have to adjust the photo.
This is why it is needed to adjust some settings after you apply the preset. Even though I am sharing with you the exact presets I use - I do tweak most photos depending on what I feel it needs even after choosing the perfect preset for it. You are purchasing the way I like some my photos to look like when I'm going for a blush, rose gold theme. If you prefer a different style then feel free to tweak the presets to your own liking or check out my other presets that are either more vibrant or moodier.
Are theSE the only presets I will ever need?
No, but the chances are the presets will be a good start for you to develop your own presets in the future and establish your own style! Each collection has a different theme, tone and mood to them so it all depends on what you shoot and what you want your theme to be. If you are unsure of which collection is right for you then send me an email or message on Instagram with an image and what collections best capture your attention and style, and I'll edit the image to show you which collection you can benefit the most from.
How do I make the best of the presets?
Make sure you shoot your photos in RAW if you're shooting on a DSLR or Mirrorless or if your camera doesn't have that option then shoot at the highest resolution possible. In Lightroom you should test as many presets as possible with your image and if something is still not quiet right, start playing around with all the settings and features like exposure, shadows, highlights, saturation and temperature, and even the hues of each individual color -this is my favorite part.
How are these presets different FROM others available on the market?
First of all, I created each one of them very carefully after many years of traveling and taking photographs leisurely and professionally. Second, all creators have their own style, you should buy the presets of the creator that best resonates with your visual style. This is why each collection is so different from the other. Some of these presets are trendy and others are classics, which I have been using for over ten years!
Are the presets compatible with photoshop?
These presets are for Adobe Lightroom only.
What happens if I don’t like the presets?
All sales are final. If you're unsure if a collection is right for you, you can download the TROPICO BLVD COLLECTION that I have created for newbies to try! If you are not happy with the presets, send me a photo and I’ll record a video on how to edit it to show you the potential it has!
WHY ARE SOME OF THESE SO EXPENSIVE WHEN THERE ARE CHEAPER AND EVEN FREE PRESETS IN THE MARKET RIGHT NOW?
While I tried to make it as affordable for my loving people as possible, keep in mind presets are not a necessity for anyone to live their best life. They are simply a tool to improve your photography skills in hopes that someday you will be paid for your work.
Presets are often used by professional photographers, influencers, and brands who make money from taking and delivering photos for thousands and thousands of dollars. On top of that, it takes years of photography experience to be able to create a good preset. As a photographer, once you perfected your signature look, you don’t really want to share it with other photographers for fear they will copy your look and your photos won’t be as unique anymore.
After evaluating and comparing similar quality presets on the market from other creators, these presets are priced at what I think is a fair payment for such hard work.
This is why I have created the TROPICO BLVD COLLECTION to give newbies a chance to download premium Lightroom presets for free! These are great for you to try out and test if you're unsure of your style.